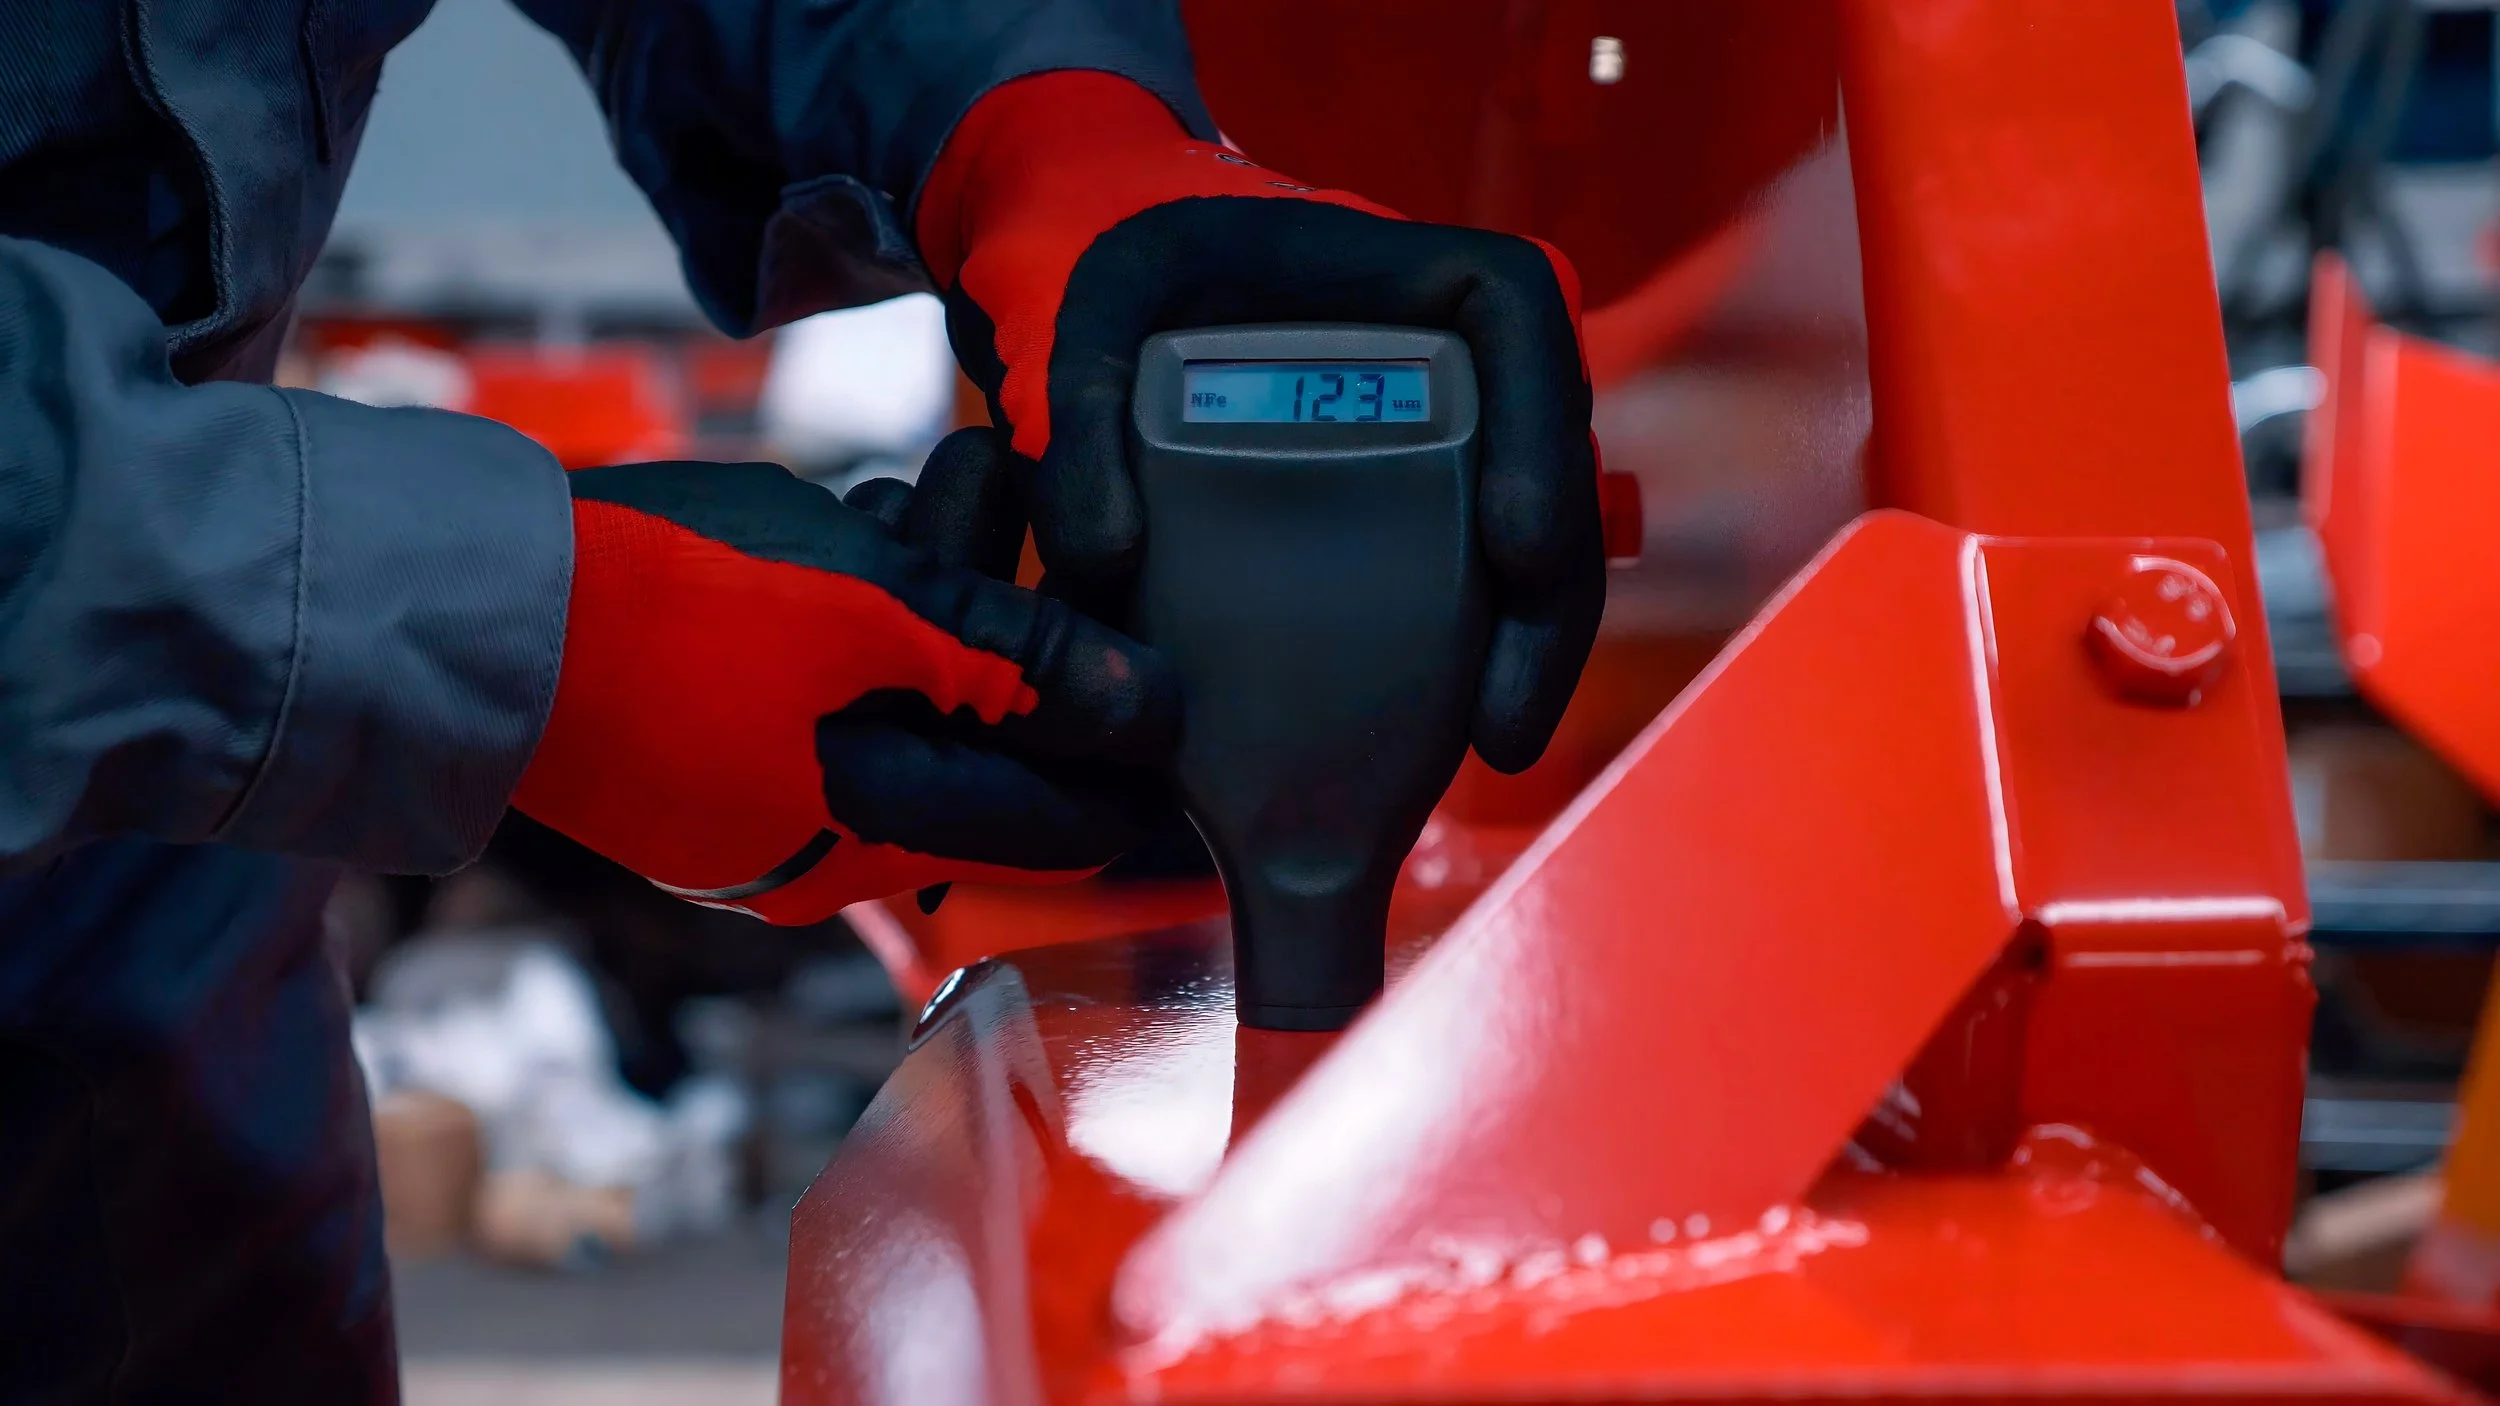
For decades, fastener manufacturers have faced a familiar dilemma: hardness testing is essential, but it often acts as a bottleneck. Traditional methods require careful sample preparation (cutting, mounting and polishing parts) only to then execute a slow, manual process that checks just a small fraction of the total production run. This approach leaves room for undetected material mix-ups or inconsistent heat treatment, potentially letting substandard parts slip through. Mectron Inspection Systems has tackled this challenge by integrating automated, non-destructive hardness testing directly into high-speed production sorting, transforming a lab-based checkpoint into a seamless part of the manufacturing flow.
The Limitations of Traditional Hardness Testing
Classic hardness testing methods (while dependable) operate at a pace that is incompatible with modern high-volume production. Techniques like Vickers or Rockwell require skilled operators to prepare samples and perform tests, which is inherently time-consuming. This often means that only a statistical sample of fasteners is checked, leaving the majority uninspected.
These methods are also destructive. A representative sample must be sacrificed (cut apart and often embedded in resin) to get a reading. This makes 100% inspection an impossibility. This creates a significant gap in quality assurance, as variations in hardness between individual parts can go unnoticed. In an industry where a single faulty bolt can lead to substantial consequences, reliance on sampling is a calculated risk most manufacturers can no longer afford.
The Mectron Method
Mectron systems eliminate the bottleneck by moving hardness testing from the lab bench directly onto the production floor, integrating it into the high-speed sorting process. The core technology enabling this is Magnetic Imagery™, an advanced eddy-current technique.
As a fastener travels at high speed through a Mectron inspection system, the Magnetic Imagery™ technology develops a complete magnetic signature of the part. This signature is highly sensitive to the metallurgical properties of the material, including its hardness. The system doesn't just take a single measurement; it captures a full profile of each fastener, comparing it in real-time against the signature of a known good part. Any deviation outside the set parameters (indicating a part that is too soft, too hard or made from the wrong material) is instantly flagged and the defective piece is automatically discarded.
This approach represents a fundamental shift. Instead of destructively testing a few parts per hour, Mectron systems perform a non-destructive hardness verification on every single piece at production-line speeds, providing a comprehensive guarantee that was previously unattainable.
Tangible Benefits
Automating hardness testing with integrated systems delivers measurable improvements across key operational areas.
Speed and Volume: By performing hardness checks "on the fly," Mectron systems keep pace with production without causing delays. What was once a lab procedure becomes an inline process, enabling 100% inspection without sacrificing throughput. This allows manufacturers to meet stringent "zero defect" mandates from clients in the automotive and aerospace sectors.
Improved Operational Safety: Automation reduces manual handling and eliminates the need for destructive sample preparation. Operators are freed from repetitive, time-consuming tasks and potential exposure to sharp cut fastener samples. The system itself handles the sorting, creating a safer and more efficient work environment.
Consistency: Human factors like fatigue or minor technique variations can influence manual test results. An automated Mectron system applies the same exacting standard to every fastener, 24/7. This generates reliable, consistent data that manufacturers can use with confidence for quality certification and process improvement initiatives. The ability to collect data on every part allows for Pareto analysis, helping to identify and address root causes of variation in the manufacturing process.
Building a Foundation for Zero Defects
The ultimate goal for any manufacturer is to ship products they can stand behind. Automating a key inspection point like hardness testing is a decisive step toward achieving a zero-defect standard. By integrating this capability directly into fastener sorting, Mectron provides the toolset to catch metallurgical flaws that are invisible to the naked eye but critical to performance. This builds a foundation of quality that satisfies customers and protects brand reputation, turning quality control from a cost center into a powerful competitive advantage.

