Traditional contact measurement methods—like Coordinate Measuring Machines (CMMs) with tactile probes—have been the go-to for dimensional inspection for years. But as manufacturing demands change and improve, optical measuring machines are showing to be a great alternative.
This blog discusses how optical measurement stacks up against modern contact methods and is supported by real world examples and recommendations.
Fasteners might be small, but their impact is huge. A single defective screw, bolt, or rivet can lead to product failures, recalls, or even safety hazards. Traditional inspection methods—like manual checks or sampling—can miss flaws, slow down production, and leave too much room for human error.
That’s where vision inspection systems step in. By automating the quality control of fastener parts, manufacturers can catch defects faster, reduce waste, and maintain tighter standards. Let’s explore how these systems work and why they’re becoming essential in fastener production.
The Problem with Manual Fastener Inspection
For years, fastener manufacturers relied on human inspectors to spot defects. Workers would visually check parts for issues like:
Dimensional errors (wrong thread pitch, incorrect head size)
Surface defects (cracks, burrs, corrosion)
Material inconsistencies (improper hardness, plating flaws)
But manual inspection has limitations:
Fatigue and human error – Even the best inspectors miss defects after hours of repetitive checking.
Slow speeds – Checking every fastener manually slows down production.
Inconsistent standards – Different inspectors might judge defects differently.
Vision systems solve these problems by bringing speed, accuracy, and repeatability to quality control of fastener parts.
How Vision Inspection Works for Fasteners and Improves Fastener Part Quality Control
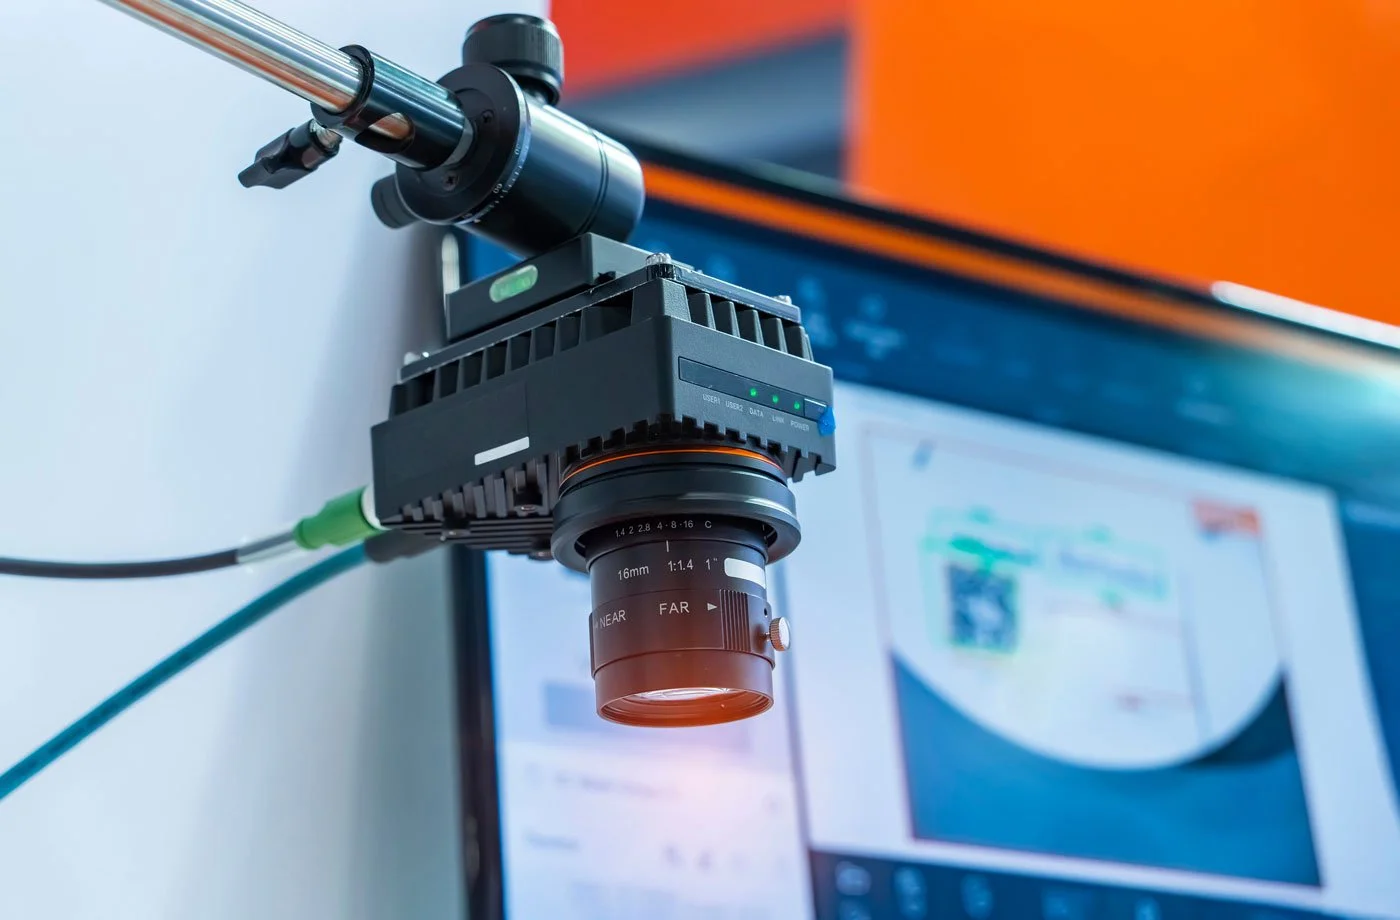
Modern vision systems use high-resolution cameras, lighting, and software to examine parts in detail. Here’s how they verify fastener quality:
Non-Contact Testing (No Damage, No Hassle) - Unlike mechanical gauges that can scratch or deform parts, vision inspection checks fasteners without touching them. This means:
No risk of damaging delicate coatings or threads.
No wear and tear on inspection tools.
The ability to inspect 100% of parts, not just samples.
High-Speed Defect Detection (Catching Flaws in Milliseconds) - Vision systems process images at incredible speeds, checking hundreds—or even thousands—of fasteners per minute. They can detect:
Thread defects (missed threads, incorrect pitch)
Head deformities (off-center drives, incorrect shapes)
Surface flaws (cracks, scratches, plating issues)
Because the system compares each fastener against digital tolerances, there’s no guesswork—just pass/fail results in real time.
Automated Sorting (Keeping Bad Parts Out of Shipments) - When a defect is found, the system can automatically:
Divert faulty parts into rejection bins.
Flag trends (like recurring burrs on a specific machine).
Log data for traceability and process improvement.
This prevents bad fasteners from reaching customers while giving manufacturers insights into production issues.
Key Benefits of Vision-Based Fastener Inspection
1. Fewer Defects Reach Customers
By inspecting every single fastener—not just samples—manufacturers can catch problems before they cause field failures. This reduces returns, complaints, and warranty claims.
2. Faster Production with No Bottlenecks
Manual inspection slows down lines. Vision systems work at full production speeds, keeping pace with modern manufacturing demands.
3. Consistent Standards (No More Inspector Disagreements)
Unlike human inspectors, vision systems apply the same criteria to every part, eliminating subjective judgments.
4. Better Compliance with Industry Standards
Many industries (automotive, aerospace, medical) require strict fastener quality documentation. Vision systems automatically generate reports, making audits easier.
Real-World Applications
Automotive Fasteners
A single car uses thousands of fasteners. Vision systems verify that every bolt, nut, and clip meets exact specs—preventing assembly line issues.
Aerospace & Defense
Fasteners in aircraft must withstand extreme forces. Vision inspection ensures no defects compromise structural integrity.
Medical Device Fasteners
Surgical screws and implants must be flawless. Vision systems detect microscopic imperfections that could affect performance.
Is Vision Inspection Right for Your Fastener Production?
If you’re still relying on manual checks or sampling, you’re likely letting some defects slip through. Vision systems provide a smarter way to maintain quality control of fastener parts—with faster speeds, better accuracy, and full traceability.
At Mectron Inspection Systems, we design vision solutions specifically for fastener manufacturers. Whether you need inline inspection for high-volume production or specialized checks for custom fasteners, we can help.
Ready to upgrade your quality control? Let’s talk about how vision inspection can work for you.

